Sunday, March 18, 2012

Header/Footer

Another AHmazingly sunny Sunday around here.  What does that mean for me??  Another awesome Sunday project to cross off the ol' To-Do list.  Wanna guess what I turned these in to?

Seriously....winner gets a virtual high five...and a cookie.  Not really.  But take a guess anyway.  No peeking!!

Last summer's garage sale-ing scored me this headboard and footboard combo for $20 (talked them down from $30 - oh yeah).  More than I usually spend on a garage sale item, but this was big ticket and antique.

Still guessing??

A bench!!  I know, weird...but what else is new?

Let's get started on the how-to, shall we??

I started by cutting the footboard in half down the middle.  These pieces became the sides of the bench.  I used furniture dowels and drilled holes and attached the sides and...it's getting technical, sorry.  Besides, it was dark outside at this point and I didn't get any pictures.  So we'll skip the boring parts.

Once the frame was completed, I used scrap 1" plywood for the seat.  I used L-brackets (seen below) to secure the bench seat.


Then, I added a brace down the middle and an "apron" in the front (also known as a 1x6 pine board).

Here's the underside with the bench laying on its back.

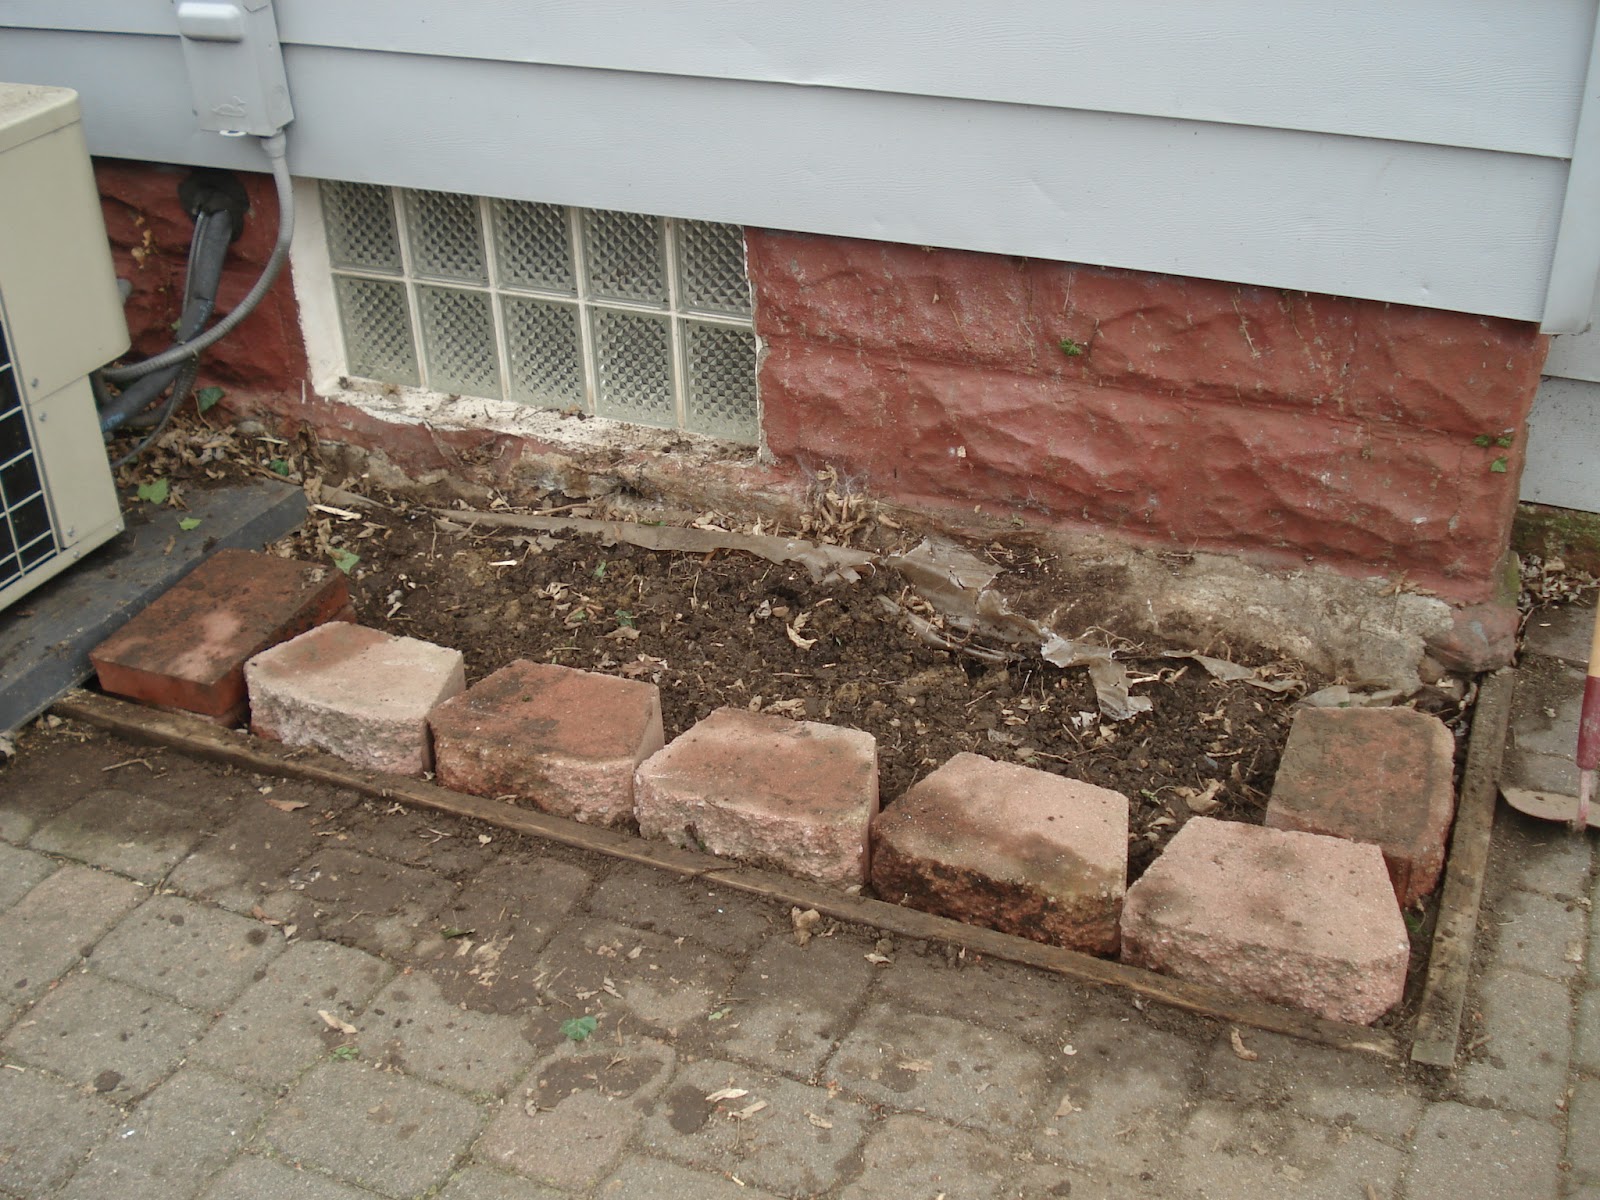
Now, before I get to the finished product, let me show you the spot on the back patio where I wanted this bench to sit.

Yepp, right there, on top of the ivy.  Damn that ivy.  I've been wanting it gone for 3 summers now.  This spot serves no purpose and is wasted space on the patio where extra seating could exist.  So I got to work.  Has anyone actually ever ripped a patch of ivy out before?  Me neither....and I never will again.

45 minutes in and this is where I'm at...
What. A. Mess.  The roots are completely intertwined and twisted and thick and DEEP.  So deep in fact, that because it is close to the house, I wouldn't be surprised if some of them have reached under the house!  Honestly, I was pulling roots out as big as this...


So I raked, and hoed, and shoveled, and scooped, and dug....for 2 hours!!  Two full lawn bags later, my back ached, my arms were sore, and I was covered in dirt and sweat.  Yuck.  But I ended up with this....
I used some leftover landscaping bricks to form a perimeter.  I'm aware, however, that the ivy may grow back.  Even though I hacked at as many roots as I could get to, I'm sure because it's a vine it will remain hearty despite my efforts. 

Ok, so the bench.  Here she is pre-paint:

I used leftover paint from my studio downstairs that matched the fabric I wanted to use for the cushion.

And here she is painted up:

I haven't bought a foam cushion yet because they are expensive and I'm waiting for the next 40% OFF coupon from JoAnn's to come in the mail.  So for now, the fabric provides a visual and I used 2 spare pillows that matched as well.

A comfy and colorful summer seat.  Weekend project...Check!

Tuesday, March 13, 2012

Tour Eiffel

After my morning run on door decor, I decided to continue on with small craft projects on the back patio where the sun was still streaming through the leafless trees. 

Back in October, when Dan and I went to Paris for our honeymoon, we took a gazillion pictures of the Eiffel Tower.  After spending your entire life dreaming of it, it was hard not to snap as many as you possibly could every time we passed by....which was a lot.

So for this project, we have to backtrack a few summers to Boston, Massachusetts, home of the Boston Red Sox and Fenway Park.  We were visiting family for a week and got tickets to a Red Sox game...Dan's dream.  Long story short, he took several shots of the stadium from our third baseline seats.  Starting at the left with the Green Monster, moving right.  Kinda like a homemade panoramic.  We printed them out and arranged them, overlapping, to form a long panoramic of the whole stadium just as we had seen it in person.  Pretty cool.

Fast forward to Paris in October with a gazillion shots of Eiffel.  Dan decided to do the same thing.  Not that we don't have a million full shots of the tower, but it was cooler this way.  He started at the bottom left and just kept moving the camera ever so slightly back and forth til he got to the top.

I finally got around to printing them out in black and white and used spray adhesive to attach them to pieces of black foamcore board I had.


After several tries, I found a good arrangement.  Most of them overlapped each other and repeated the same spot, but I found a way.


It's a little distorted and kinda out of whack, but I really really like it!  Just adds to the other zillion pictures of the Eiffel Tower that we have.

Front Door Decor

I opened all the windows and doors today to let in the sun and let out the stale air that winter leaves behind.  Once the door was opened, I realized it was empty.  We just can't have that.  In my crazy Sunday cleaning this past weekend, I took down the oversized popsicle stick snowflake I made without snapping a picture for you.  But now I was staring at a blank canvas.

Fueled by sunshine and coffee, I decided to spend my morning coming up with a Spring themed door wreath.  The space between the storm door and main door is not very big, so whatever goes up can't be too thick or stick out too far.  I rummaged around my studio, looking for something I could whip together.

Note:  Yes, I have enough craft/junk stuff stashed down there that I can easily "whip together" something on a whim.  I'm a packrat, what can I say?

What did I find?  A garbage bag full of clothespins, a wire wreath form, and some colored ribbon. 

I arranged approximately 75-80 clothespins in an alternating pattern around the wire wreath frame.


Here is the fully filled wreath form.

They didn't want to stay very well, so I used the curling ribbon to secure them together. I considered hot glueing them to one another, but didn't want to deal with the mess. So weaving the ribbon in and out, it held the clothespins snug against each other.  And yes, those are my pink flannel pajama pants in that shot.  I do my best work in my pj's.

I fashioned a bow out of green mesh ribbon I had left over from the wedding, hung it on the door, and voila!
The yellow, orange, and green ribbon not only matches the door, but it's spring-y enough to last through May.  A succesful early morning project :)

Sunday, March 11, 2012

The Free (not really) Sewing Machine

While antiquing with Dan and my father-in-law in Brockport, New York during Christmastime, we came across this sewing machine for sale.

I've always wanted one.  My mom has an old one that sits at the top of the stairs with a little lamp on it.  I love it.  But they are always so darn expensive.  This one was only $60.  And in excellent condition.  While roaming the shop, I stopped by it at least 5 times, checking it out and pretending like I wasn't too interested every time Dan looked my way.  I could tell what he was thinking  - and he could probably see right past my pretending - "Oh jeeze, she's looking at it, please don't want it, please don't make me load it into my truck and cart it all the way back to Ohio, please don't add another piece of furniture to our full house."  Yeah, he gets me.


It was manufactured by The Free Sewing Machine Company and circa 1920s, according the the shopkeeper that I casually asked.  She said the reason it was so inexpensive is because she wanted it to sell.  Funny thing....I wanted to buy it!  But alas, we left the store empty handed.

That is until my Father-in-law said, as we were pulling out of town "If you want something and you really like it, you should get it.  You can always find room for it later!"  That was all it took.  Well, that and a pouty face in Dan's general direction.  We turned back around and bought the thing!


It came with complete instructions, all of the tools, and by gosh it works!  Not that I would use it, given that I have a perfectly good modern sewing machine in my studio.  It's just really cool to look at!


The top flap lifts up and folds over and the machine raises up.


The intricate painting is still in near perfect condition.  The little box came with all the presser foots, bobbins, and tools needed for servicing the machine. 
An excellent find in my book.  I think Dan cursed his dad the whole way home for opening his mouth.  Oh well, it worked in my favor :)

Spring Clean Up

What a b-e-a-utiful Sunday!!  Can I get a collective "Heck Yea!!"??  That's right, Spring has officially sprung in our neck of the woods and I couldn't get enough of the beautiful and abundant sunshine this weekend.  But with the sunshine comes the inevitable shedding of light upon the piles of crap that accumulated over the winter.  It was all too easy to just walk right past - or add to - the junk that collected in our breezeway/screened-in porch.  Serving as the main entrance to and from our house (we never use the front door except to get the mail), it was a catch all for shoes, junk, recyclables that hadn't yet made it to the outside bin, boxes, knick-knacks that had no other home, and similar crap that was ugly to look at.

I'm not proud of this picture.  Our wedding seating chart has been sitting there in that same place for almost 6 months!  There were shoes - I'm talking at least 20 pairs - scattered all over the floor.  I've got a nasty habit of wearing a different pair every day and then just kicking them off before going in the house.  This is where they end up.  There were paint cans, open umbrellas, cans of pop and beer (we have a refridgerator, I promise), random bits of my pottery that had no home inside....I could go on and on but I think it speaks for itself.

I worked outside most of the afternoon.  I emptied everything onto the back patio and started from scratch.

We had an un-used carpet remnant that used to be in the basement.  It felt cleaner than the grungy indoor/outdoor carpet that's in here now, so I hauled it Dan hauled it upstairs and rolled it out.  The chair and plant stand in the corner are from a house I went to for a flooring measure through work.   They guy was getting rid of it and so I generously offered to take it...along with several other pieces that we won't get into just yet.  Original plans were to redo the chair, but upon further inspection, I decided it was in such great and clean condition, I didn't want to mess with it.  It's pretty comfy too, as I am relaxing in my new space as I type. 

The room actually feels like a room now.  Granted, next winter it will turn back into a soul-sucking catch all of mammoth proportions, but the Spring/Summer/Fall months can get use out of it. 

It also serves as the perfect spot for my new plant collection.  Now, I'm no botanist by any stretch of the imagination.  In fact, I have killed pretty much anything I've ever planted in a pot...or the ground.  But I decided to give it another go with Dan's supervision in reminding me to water them every once in a while. 

I have been coveting one of these beautiful and prehistoric-looking orchids for forever.  They have them in the center aisle of Home Depot, and every time I pass them,  I linger and look and tell myself it's too dangerous.  But one day while shopping for light bulbs or something really mundane, I gave in.  The tag said to add three ice cubes to the soil once a week and that's it.  Pretty simple, right?


When I brought this guy to the checkout counter, I felt like I was taking home a new pet.  I was cautious and gentle and tried really hard not to jar it too much so its weird little jelly bean things wouldn't fall off.  It's called a Donkey Tail "Burrito" and it is, I believe, of the succulent family.  I had a pot from pottery that it fit in (it came with a hanging basket, but the ceilings are too high).  Its just the weirdest/coolest/creepiest thing I've ever seen.


Speaking of succulents, I've been wanting some for awhile and found these at Home Depot, too.  At only $2.98 a piece, I couldn't pass them up.  The middle one is called Baby Toes...I think it looks like some creepy space creature with a million eyeballs.  But that's just me.


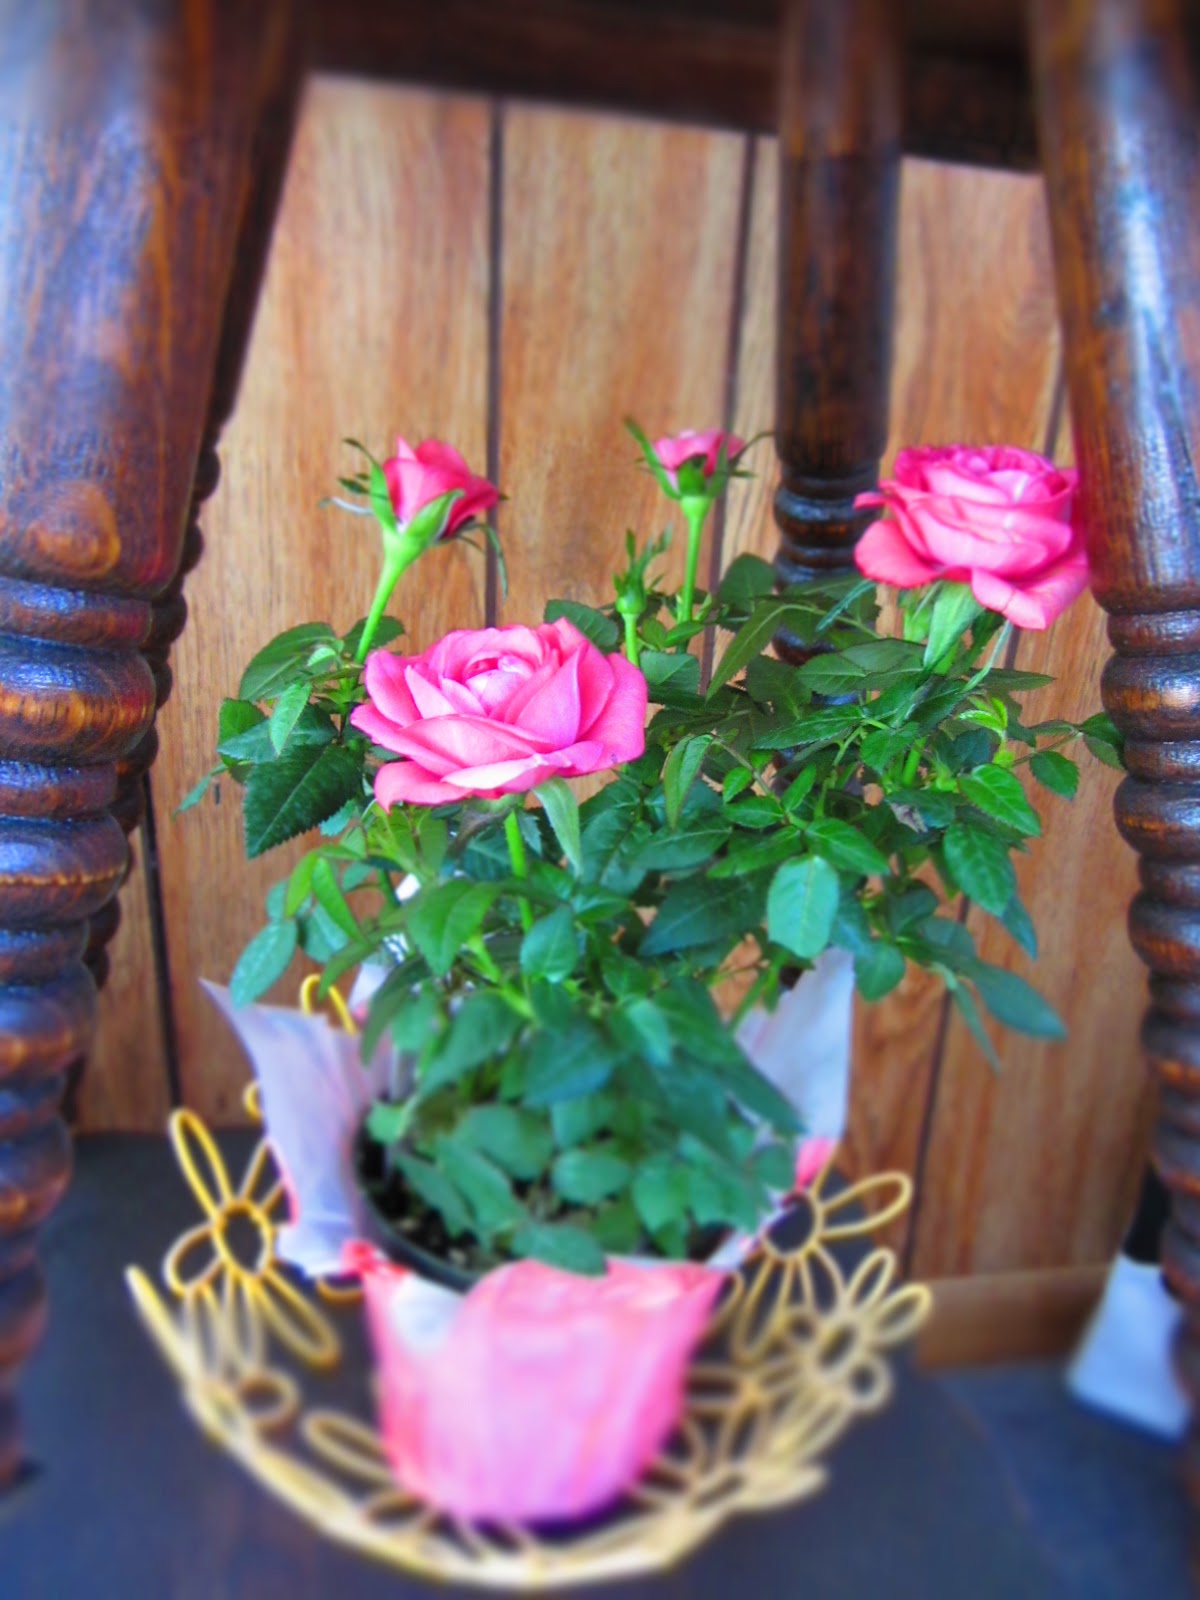
The mini rosebush is from a friend's baby shower a week ago.  So far, so good.  Haven't decided yet if I want to plant it outside, but for now it sits on the bottom of my new plant stand.


I added this mirror to the wall of the porch because it was sitting dusty on the floor of the basement and I didn't want it to get broken.  The squiggly sticks are called Johnny Walking Sticks and I put them up there so they wouldn't get broken either.


This little lamp I made from a base purchased at Goodwill and a lampshade I had on hand.  I spray painted the base and used spray webbing for the shade.  Pretty cool stuff, and looks kinda retro.

That's it for this edition of Spring Cleaning.  We also set up the patio table and chairs, and there's some new outdoor stuff coming soon.  Anyone else got cabin fever??

Sunday, March 4, 2012

Pot Luck Part 2

Pottery has been happening for almost a year.  Gettin' better all the time, too.
My biggest bowl yet!  I put an average sized coffee cup next to it to give you some proportion. 


Probably the most complex bowl with the lid and handles and all.  Too bad the glaze didn't work out how I planned.  It was supposed to be two shades of blue, but it came out blue and white??  Either way, I think it's pretty impressive.


These are two plates that started out as bowls.  I kept trimming and trimming and they eventually flattened out on the wheel.  This was my attempt at saving them!


Love, love, LOVE the color of this one!  It's the second time using this glaze combo and I can't get enough of it.


Overall, I'm just plain impressed with the shape of this one.  When it was sitting on the shelf at class, I didn't believe it was mine.  If it weren't for the initials on the bottom, I wouldn't have believed I made it!  The glaze wasn't intended this way, but everyone in class was raving about it, so I decided to give it a chance.  It's now on our coffee table :)


Two little guys that grace the shelf in the living room. 

That's it for now.  Of course, I have 10 bowls drying right now.  I was on a ROLL last week.  More updates to come.  Anyone need/want a bowl??

No Sew Roman

Last week I posted about the curtain valance I made for over the sink in the kitchen.  And while it was cute and cheery, it offered little in the way of privacy.  Not that our kitchen window faces the street or anything - on the contrary, it faces the side of the neighbor's house and none of their main windows are in the immediate view.  But still, at night, it's the only window in the house that isn't covered.  The joy of living in the city, I s'pose.

There used to be a vinyl miniblind before the kitchen got fixed up.  It was gross and dirty and yellowed from age.  In a huff, I ripped it down and tossed it in the garbage.  It wasn't until afterwards that I found a great tutorial online about how to turn an old miniblind into a roman shade.  So I stole the only remaining one in the house from the bedroom upstairs for this project - I've been meaning to take it down for a while now anyways.

Check out littlegreennotebook's step-by-step instructions on how I did it, because I'm too lazy to show you more than a few "in progress" shots myself!  So sue me.

We all know what a vinyl miniblind looks like fully opened....moving on.

I undid the bottom rail, snipped the ladder strings (the ones that turn the slats open and closed) and removed all but 4 slats.


I bought diaper fabric - yes, diaper fabric - for the blind itself.  Weird, I know.  But it's waterproof and can be wiped clean with a cloth.  Plus, it doesn't look plastic-y like all the other waterproof materials I found.  This is the fabric laid out and the slats measured and glued to the backside of the fabric.  The books are holding the slats down until the glue dries (overnight).  The concept is that when you pull the string, the blind raises just like normal, only the slats are glued to the fabric and lift it up as well.  It's confusing, I know.  And I'm sure the most interesting thing here is the finished product.


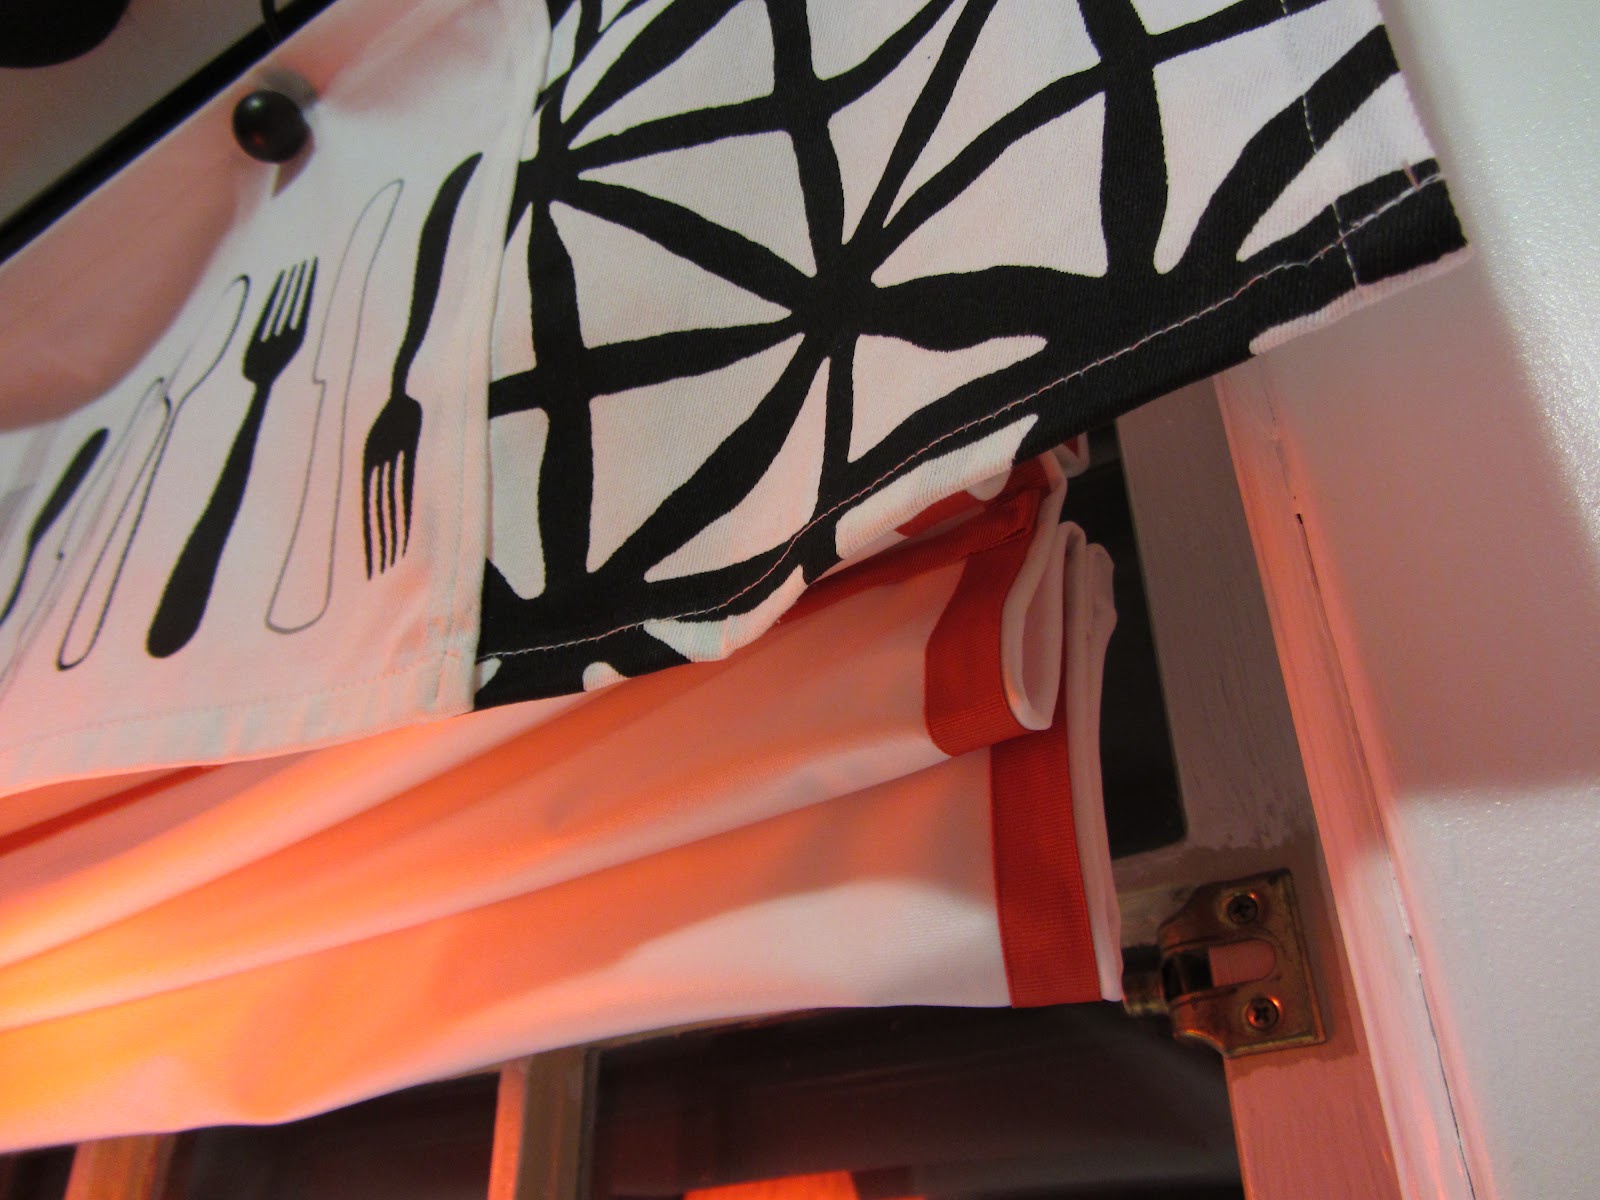
I added the red ribbon because the glue kind of showed through to the front when it dried...easy problem to fix. And I think it helps tie it into the red walls and accents.

When it's completely lifted, it is almost hidden behind the valance and out of sight.


It's a little rough around the edges, but it works for now...until I find something else on Pinterest :)