Saturday, February 25, 2012

Silverware and Curtains

I've been searching high and low lately for the perfect rug to compliment our new kitchen (which is still taking shape - bear with me).  We had a solid red one before, but it showed every speck of dirt and lint and just plain junk that graces the kitchen floor.  Not to mention the fact that I sucked up a corner of it in the vacuum cleaner...no worries, it found another home.  But, after several stores and several rugs strewn about the aisles, I still came up with nothing.  So, in true Jessica fashion, I decided to alter one to work for me.

I found a heavy duty, red-trimmed, straw grass rug at Target for $24.99.  While, yes, this is more expensive than I would have hoped considering I still had to work some magic on it to get it how I wanted it, but it was good quality for the space right in front of the sink.  So I splurged. 

So the design?  Well let's backtrack a minute or two to another project I knocked out on my day off this week.

The new curtain for over the sink.  Once I took the original "beer mug" curtains down, I really liked the light that came through the window.  It opened up the space, so much so that I actually considered not putting anything back up at all.  But, the decorator/DIYer inside me couldn't resist.  So while I was in Target searching for the perfect rug, I came across the clearance aisle where several dishtowels were on sale for less than 2 bucks each.  Score!

When I purchased them, I had no idea what I was going to use them for.  They weren't exactly great quality - the kind of dishtowel that never really dries anything off, dishes or the like.  So I wasn't completely surprised that they made it to the clearance section, but I vowed to find a use for them at some point.  And the rest is history. 

The silverware outline wasn't long enough to stretch across the whole window, but I bought the abstract black lines one too.  That was added to each side to extend the material.
So fast forward to the rug project...inspired by the silverware motif.
First, I drew and cut out silverware shapes from scrap cardboard.  Then, using them as a stencil, I traced them with a Sharpie onto the rug.

I used black fabric paint I had on hand and began painting and filling in the shapes. 
And Tada!  It lays on the floor directly below the new curtain, so the repeated motif makes sense.  Plus, it won't show every single fleck like the previous one did (which now lays on the landing inside the back door).
All's well that ends well.

Tuesday, February 14, 2012

Before & After Living Room UPDATE

Oh boy, do I have a treat for you!  After the post earlier today about the living room, I started digging through old photo files and came across some doosies!

Here are some shots of the living room the first time around - brown walls and kinda boring.  I'm not super proud of this room because there's nothing in it that says "ME" (keep in mind I wasn't living here yet, so it makes sense that there is no me).


Just looking at these blank walls brings a tear to my eye - well, not really, but it was still a work in progress at this point.

So, let's recap the changes, shall we?

Fireplace went from this:
To this:

To, finally, this:


And the window treatments went from this:
To this:


Wanna know a secret?  I actually used the brown suede curtains from the first living room as lining for the new curtains.  The light blue sheers remained, and I just recovered the custom cornice boards.

Ok, I think that's it....for now :)

The Ultimate Before & After - Bathroom Edition

Part 2 of the Ultimate Before & After consists of an update on the bathroom we did a year ago this April.

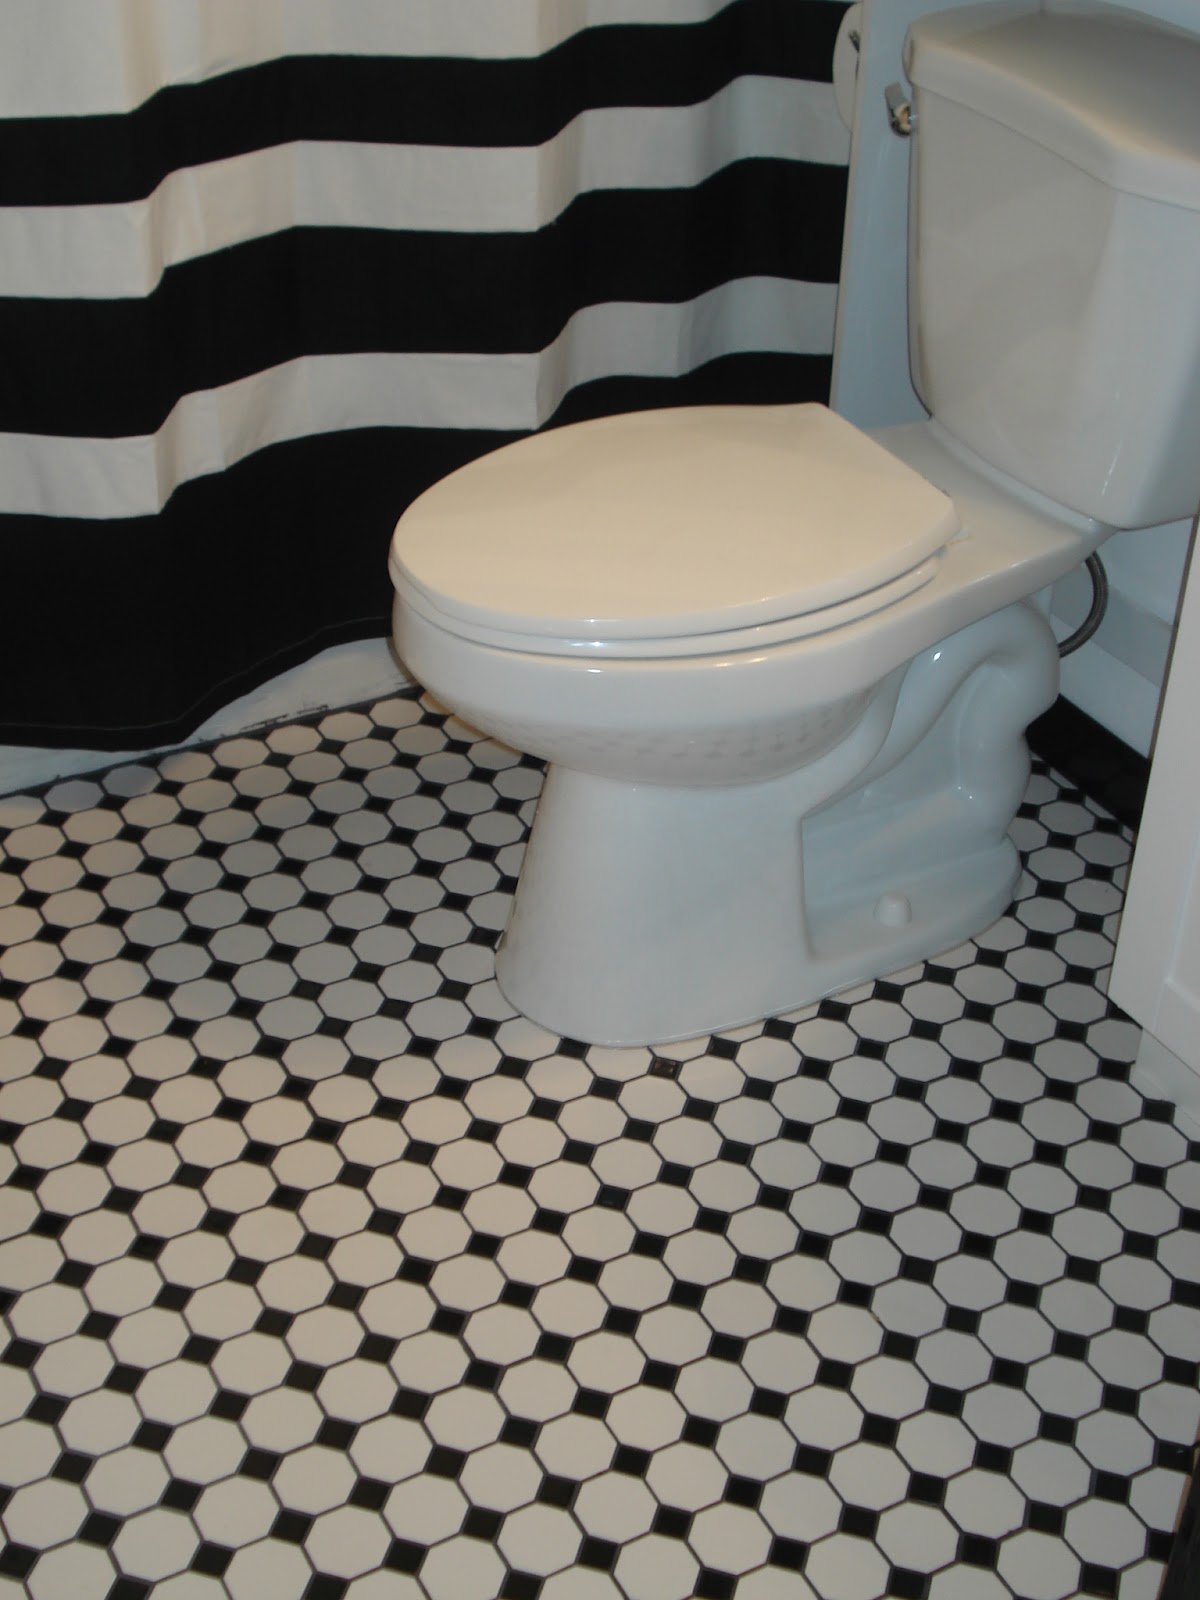
If you remember from the original post, we did a complete overhaul: floors, vanity, fixtures, etc.


Before:  We've all seen it, we've all gagged, moving on...


FINALLY put up the crown moulding which makes a huge difference.  Added a new towel bar since the last update, too.  Paris themed...

Not much more to say on that subject considering we've already covered this room with the exception of the added details.

Bonjour and Au Revoir :)

The Ultimate Before & After - Living Room Edition

I've spent hours upon hours perusing through decor and design magazines over the years.  I would cut out pictures (and still do) of things that inspire me, excite me, and cause me to stay up at night imagining it in my own house.  There are tons of folders of these clippings to reference back to when I'm looking for ideas in our house.  However, no matter how many magazines I get inspiration from, my house is still my house.  And although it doesn't grace the cover of any decor magazine, when you walk in the front door, you know who lives here.  It's full of life, and art, and things that mean something to us.  Our living room is the prime example of that.

This shot was snapped during Dan's walk-through, only a few weeks after we met!  The fireplace was completely covered up with chairs and was an ugly baby poop green.
The couch was turned at an odd angle that cut off the space to the left of this picture.  In such a small room, space is of the essence.

If you look closely at the top and center of the picture, you might be able to make out a little bit of crown moulding.  It was painted the same color as the walls!!  You didn't even really notice it.

So those are the before's....

Now, the living room was first painted right before Dan moved in in November 2009.  I made window treatments shortly after that and got started on a blue and brown theme.  It stayed that way (without pictures) until I moved in in March 2011. 

It must be said that I may be an interior designer, but that doesn't mean I always trust my judgement when it comes to my own house.  On the contrary, I usually think and rethink over and over again before deciding on something, only to ultimately change my mind again.  Which brings us to the current phase of our living room.....


Looks a little different, huh?  Well trust me, it will be different again soon, I'm sure.  In order to keep up with my ever-changing ideas, I mix it up a bit to keep from getting bored.  But this room, this house in general, is a true testament to things that make me happy.  Aside from the sofa that was recently purchased new, the furniture was all made by me.  The polka dot chair, the silver rocker, the pink chair, the footstool, the end table, the coffee table.  I made the new window treatments and recovered the cornice boards that I made for the first living room makeover.  The new carpet was a free spiff from my job that we had installed a few months ago.


The fireplace and mantel is now a focal point.  Even though it doesn't work (anybody got an extra $1000 lying around??), it showcases the holidays, and serves as a platform for our collection of art.

The good thing about having so much artwork is that I never get bored and swith it out constantly.


The level shelves were from my apartment and hold pictures of us, our family, and our friends.

This shelf is another constantly changing space for artwork, including paintings from our honeymoon to Paris and London, and my favorite, Starry Night.

I love color, I love art, I love furniture.  Is our living room cluttered?  Some may say so.  But does everything have a story and a meaning?  Absolutely.


Tuesday, February 7, 2012

Winter Wonderland

Well, it isn't really a wonderland outside this winter.

But for us snow-loving creatures, we had to get our white stuff somewhere.  So I incorporated it into our living room so I could see "snow" every day.


Keeping up with my mantel decor, I kept right on with it after taking down the Christmas stuff the first week of January.  I wasn't quite ready to give up on Old Man Winter yet, so I left all of my snowmen and winter themed decorations out of boxes. 

Lovin' those giant snowflakes on the wall??  They're popsicle sticks!  Thank you, Pinterest :)

Lot's of different things going on here.  A hodge podge of anything white or clear that I could find lying around.  The clear glass tree vases, the silver crackled bulbs from Restoration Hardware, the empty liquor decanters, and the upside down wine glasses all help add a little sparkle to an otherwise dreary winter.


In addition to the LED snowflake lights hanging under the mantel, I put two of my white Ikea nightlights up there as well.  My collection of doilies lined the mantel, playing their part as the fake "snow".


Aren't they cute?? They're jingle bells that I painted a few years back - thought they fit right in placed among the snow.


This is one element I wanted to point out because of how original it is.  I found it during our last trip to New York about a month ago.  There's this great salvage store that specializes in old fixtures from homes.  They had about a zillion of these for sale with all different designs on them.  You might be asking yourself "but what is it??"  Fear not...I didn't know at first either.  But they I did some research.....
It used to look like this.  Hanging over a bathroom mirror.  Very pretty.  We actually bought one similar that hangs straight down to install as our new front porch light.

Note to self: add "fix front porch light" to the list of things to do.

Well, that's it.  Just a little reminder to all of you that it is (according to Punxsutawny Phil) actually winter time for at least another 6 weeks.  Maybe Old Man Winter will come around here soon and dump a wonderful pile of fluff!!

Friday, January 27, 2012

Dan's Man Cave (special guest appearance by Dan The Man)

Taking a time-out from the kitchen remodel, I'd like to focus on another project that's been going on in the Schreiner-Paris house. 

Dan's Man Cave!!

Well, actually, it's a workshop area in the basement.  But because our house is so small, it's the only man-cave space available for him.  And since I have my own workshop in the basement, it was only fair to have His & Her's.

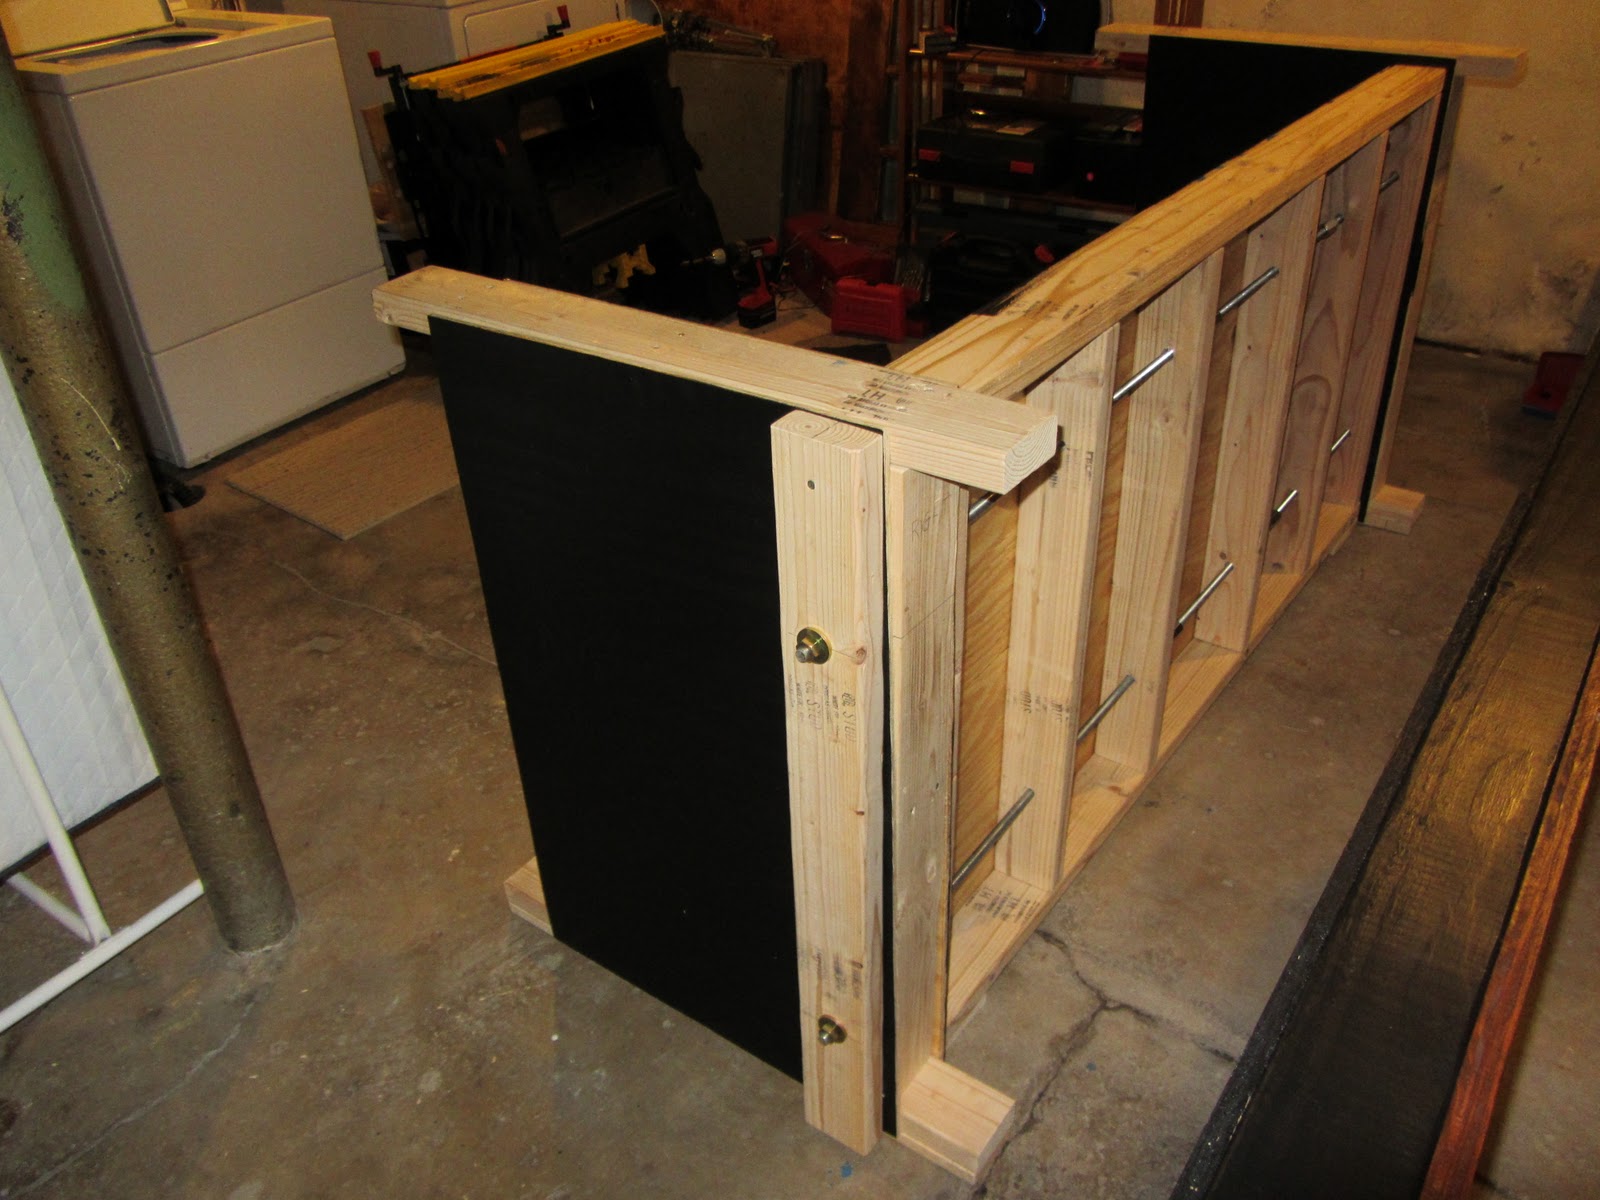
So in true Engineer Fashion, he found a model and tutorial online, drew up an Auto Cad drawing (or 5), and got to work building his workbench.  Technically, we needed a space to put our scroll saw, band saw, drill press, and random tools that don't fit in my half of the basement.  The workbench ends up doubling as a work surface and storage.


View of the backside with the threaded rods running through.

The back and sides together, just needs the top.


He designed it so that it could be taken apart and carried to the next house.  Held together with screws and threaded rods rather than glue and nails.


Dan posing in his new work space.
His painting scheme was very precise.  The top was stained a reddish-brown.  The sides and back were painted black.  The support beams (2x4's) were left natural wood.  Apparently this scheme was very important and he worried about "how it would look" extensively before it was finished.  I think it looks "Manly".  :)

The gray contraption on the right is the band saw I inherited from my grandfather's workshop.  He was a master carpenter who made beautiful pieces that will be passed down for generations.  Not that I aspire to make as great of pieces as he did, but having his band saw was like having a part of his hobby.  It's really old, but it still works well.

I like to think that a little bit of my resourcefulness and creativity has rubbed off on my left-side-of-the-brain-thinker husband.  Another aspect of this work space that can't be overlooked is the multi-drawer cabinet that Dan fixed up.


Now, he's still a newbie at the fixin-stuff-up thing, so he forgot to take "before" pictures of this.  But it was rusty and old and needed some love.  A good friend of my grandma was having a garage sale this past summer.  Her husband had passed away a few years ago and had a garage full of tools.  She had finally got around to getting rid of some things.  We stopped by the day before and picked through some things that we wanted.  And as sweet as she was, she didn't charge us - she called it our wedding present!  Dan didn't even want the cabinet, saying we had no room for it.  But I convinced him it was worth it.  Little did I know that he would take over the whole redo!

He used my orbital sander to sand down all the surfaces.  He primed the metal and then spray painted them with a hammered metal paint.  He then used shelf liner for inside each of the drawers.

Lookin' pretty good!  Not sure what we will put in ALL those drawers, but I feel pretty positive that we can find stuff ;)

Note from designer:  "I'm not finished yet.  I still need to work up some electrical stuff.  It is already a huge improvement over two sawhorses and a half a sheet of plywood."


Tuesday, January 24, 2012

Kitchen Redoux Part 2

Well, we've struggled onward with our kitchen remodel.  And I mean the literal sense of the word struggled.  In fact, not one thing has gone perfectly since the very beginning.  Go figure with a house from the late 1930s.  But, we've kept our spirits up and have high hopes for our tiny little kitchen.

The funny thing is, when we sat down and calculated our time and money spent, the amount per square foot was astounding (and depressing!!).  But we learned a valuable lesson (the same one learned during the bathroom remodel) - any home improvement project that you tackle yourself will take three times as long and cost twice as much as predicted. 

Let's not forget I had originally planned for this to get knocked out in one weekend.  Oops.

So what have we been doing in the past week and a half??

We (Dan) added an extra outlet in the front of the counter.  Original plan was to put it in the wall, but my dad had the genius idea to put it here instead.  Much easier.  Thanks, Dad.

We made several alterations to our existing cabinets.  Including adding new cross braces and a custom "cut out" in front of the sink (the 1x2 pine board that you see in the front).  Because our cabinets aren't standard depth, our new sink wasn't going to sit correctly in the area.  So we cut out the front and extended it about an inch - it was literally that close.  Now the sink will fit with room to reach under and tighten the screws that hold it in place.

Here's a closer look at the extra piece we added to allow the sink to sit further forward.

We used a sheet of cardboard I had on hand to make a mockup of the countertop, then cut it out of 3/4" plywood.  On top of that went the Hardibacker cement board (being held down with clamps while the Liquid Nails glue dries).  We added an angled part of the countertop in front of the sink to allow for more space and to hide the extension we made underneath.


We used our handy dandy new wet saw.  Fun Fact: to rent a wet saw at Home Depot, it was going to cost $50 a day.  Because we were only doing this a couple hours at night after work, it would either cost a fortune to rent for several days, or we would have had to knock it out in one night.  Better idea:  buy the cheapest wet saw we could find.  Sears had a Craftsman for $99.  We had a $50 Sears gift card and split the other $50 with Dan's dad who was also doing a backsplash.  Total cost ($25) was less than a one day rental and we get to keep it for future projects.  AND, it worked like a charm.

Another Fun Fact:  We used the WET saw in the driveway. At night. In January. In the snow. While we were both sick. Brilliant?  Not all the time.  But we eventually moved it to the basement.


We (I) installed the cut granite tiles onto the countertop with premixed thinset.  Then the next day I grouted them with black grout. 

So where are we now??  Backsplash is up and partially grouted, sink and faucet is installed, but plumbing issues may push that back a day or two.  The cabinet painting won't happen until at least next week.  And I'm still on the hunt for new hinges for the doors.  Plus, we still need a new hood for over the stove. 

Part 3 will come next week when we are finally cooking and cleaning in there again.  Stick around....