Monday, March 26, 2012

Color Ties

While errands and a killer migraine kept me from my usual Sunday craftiness, I was able to squeeze out a few last minute projects this past weekend that only cost me about 10 minutes each. 

If you've been living under a rock for the past few months, then you probably don't know about Pinterest.  It's completely addicting....that's all you need to know.  Well, that and the fact that I like to steal some project ideas from there on occasion.  And this is one of those occassions, once again formatted to fit my needs.

The online community is buzzing with crayon art.  Yes, crayon art.  And while it consists of a bit more than coloring inside the lines, it is still just as fun as it was when we were kids.  Case in point, you get to use the WHOLE box.  When were you ever able to rip out all the crayons and use every single one at the same time?  Or was I the only OCD child who had to put each one back when I was finished with it?  Hmm...anyways.

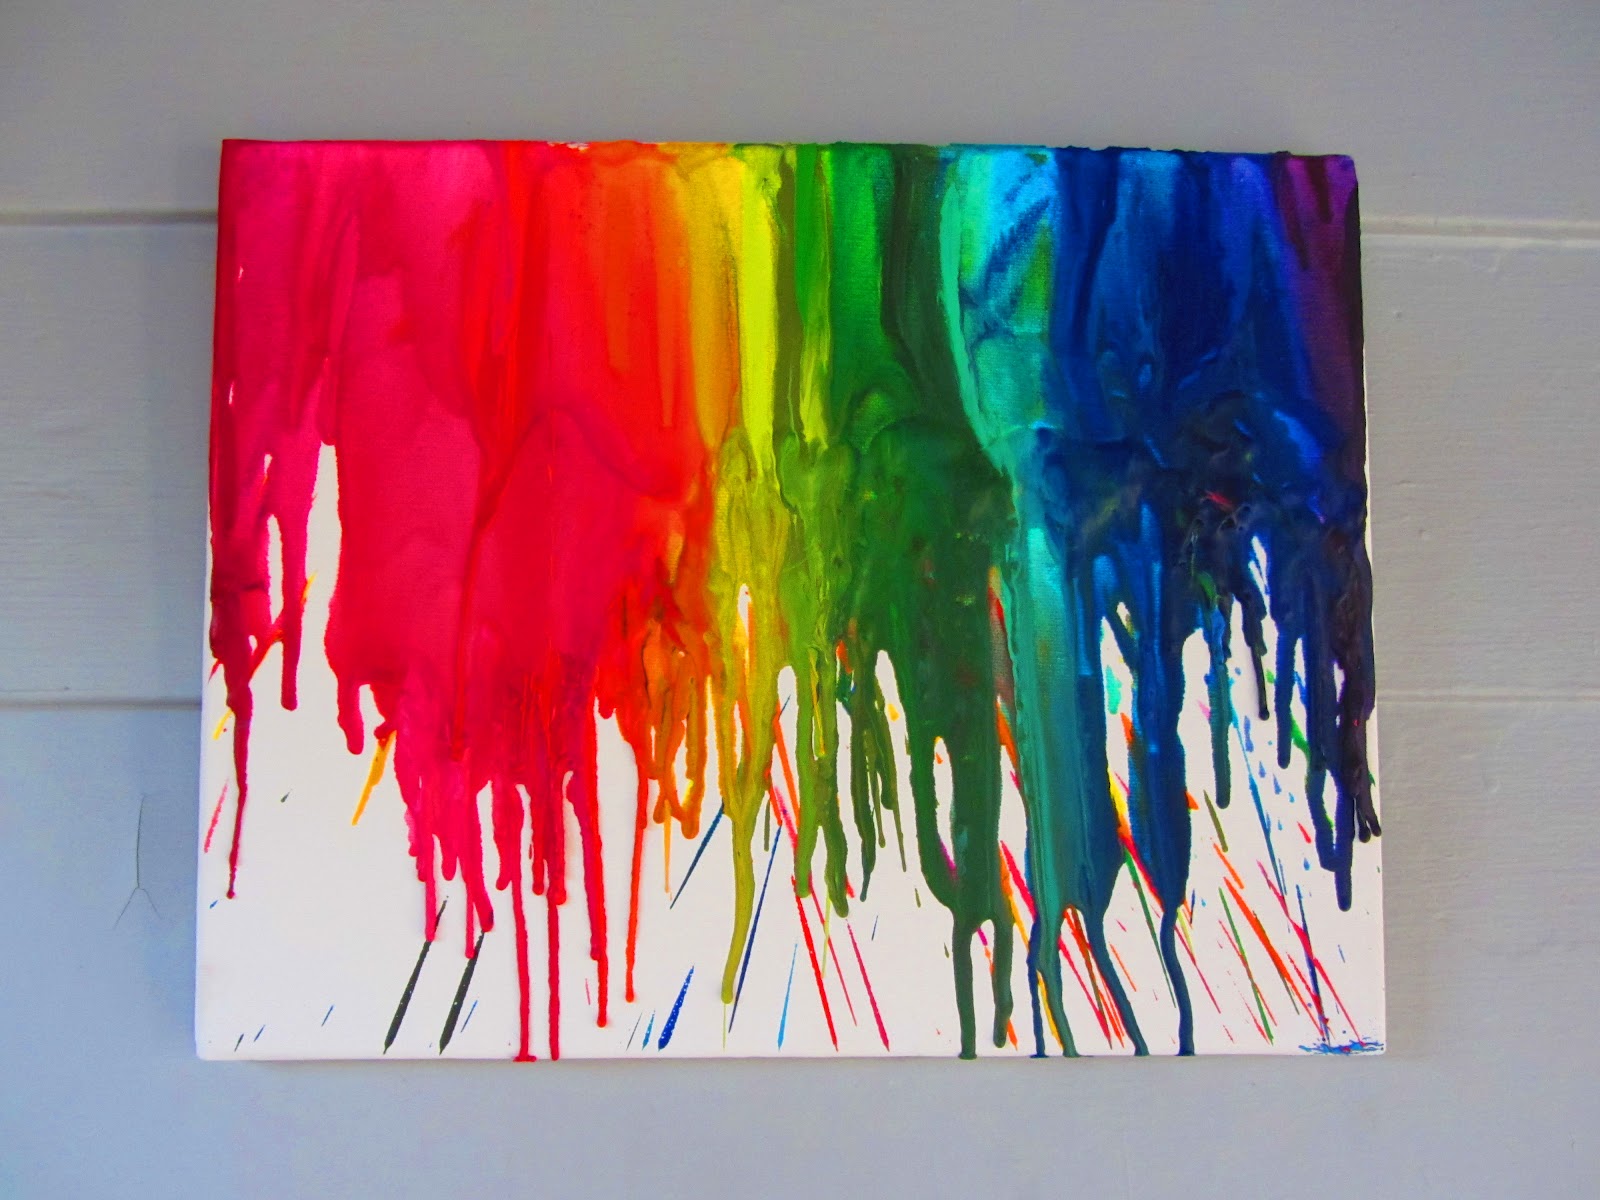
Here is where we start...

I bought a smallish artist's canvas for el cheapo...$3.99 to be exact.  Don't ever pay the ridiculous price at the craft stores.  They are intended for actual artwork with fancy paints and all...not crayons.  I hot glued a piece of cardboard to the top.  Most tutorials told you to hot glue the crayons directly to the top edge of the canvas.  I felt like this would take up too much of the canvas, so I "extended" it with cardboard.  Then I arranged all the pretty colors in a rainbow, following the Roy G Biv theory (shout out to my high school chemistry teacher for engraving that into my brain).  Then, I got to work.

Standing the canvas upright and armed with my hairdryer, I turned the heat high and started at one end, slowly melting the crayons. 

Warning:  This is MESSY.  Cover your work area (found that out the hard way on Dan's new work bench...oops) and be careful of your clothes.  When the crayons start melting, the air from the hairdryer will blow the little dribbles of wax all over the placeThey dry instantly on whatever they hit.


See the dribbles??  They were everywhere!  But the finished product turned out pretty interesting.


At least it looks like all the other crayon art out there in the Pinterest world.  It looks even better atop our colorful and layered mantel.


My second project was just as quick and easy.  One of the many perks of my job is that I receive "points" for selling certain products.  These points can accumulate into free carpet for our living room, a 3 piece Vera Bradley travel set with matching purse, a Coleman 2-burner camp stove, a Kindle Touch, and my recent gift, a 4th generation iPod Touch.  This new gadget of course required a case to protect it.  So I set out to spend less than $50 (which was the cheapest one I found online).  I turned to Goodwill for this one.

Using a $1 men's necktie, I transformed it into a sleeve.  I cut it to the correct length, allowing enough for it to be folded up to form a pocket.  Then I hemmed the cut end, as seen at the left of the above picture.
Then I folded it again, making sure that it was still long enough for the iPod to fit inside.  Then I stiched along each side.  This, essentially, made two pockets.  The main one, which holds the iPod, and then a front, smaller one that can hold the earbuds.
See? 
I added a small piece of velcro so that the top flap could close.  This way, when I throw the whole thing in my mess of a purse, it won't get scratched up.  Easy peasy.

2 comments:

Hi there. Thanks for leaving some feedback on all of my hard work! I love hearing from everyone - friends and strangers alike. :)